First run
The first time you open ALMa against a fresh database, you don't land in an empty app — a guided onboarding flow takes over and walks you through setup. Everything below assumes you have http://localhost:8000 open in a browser.
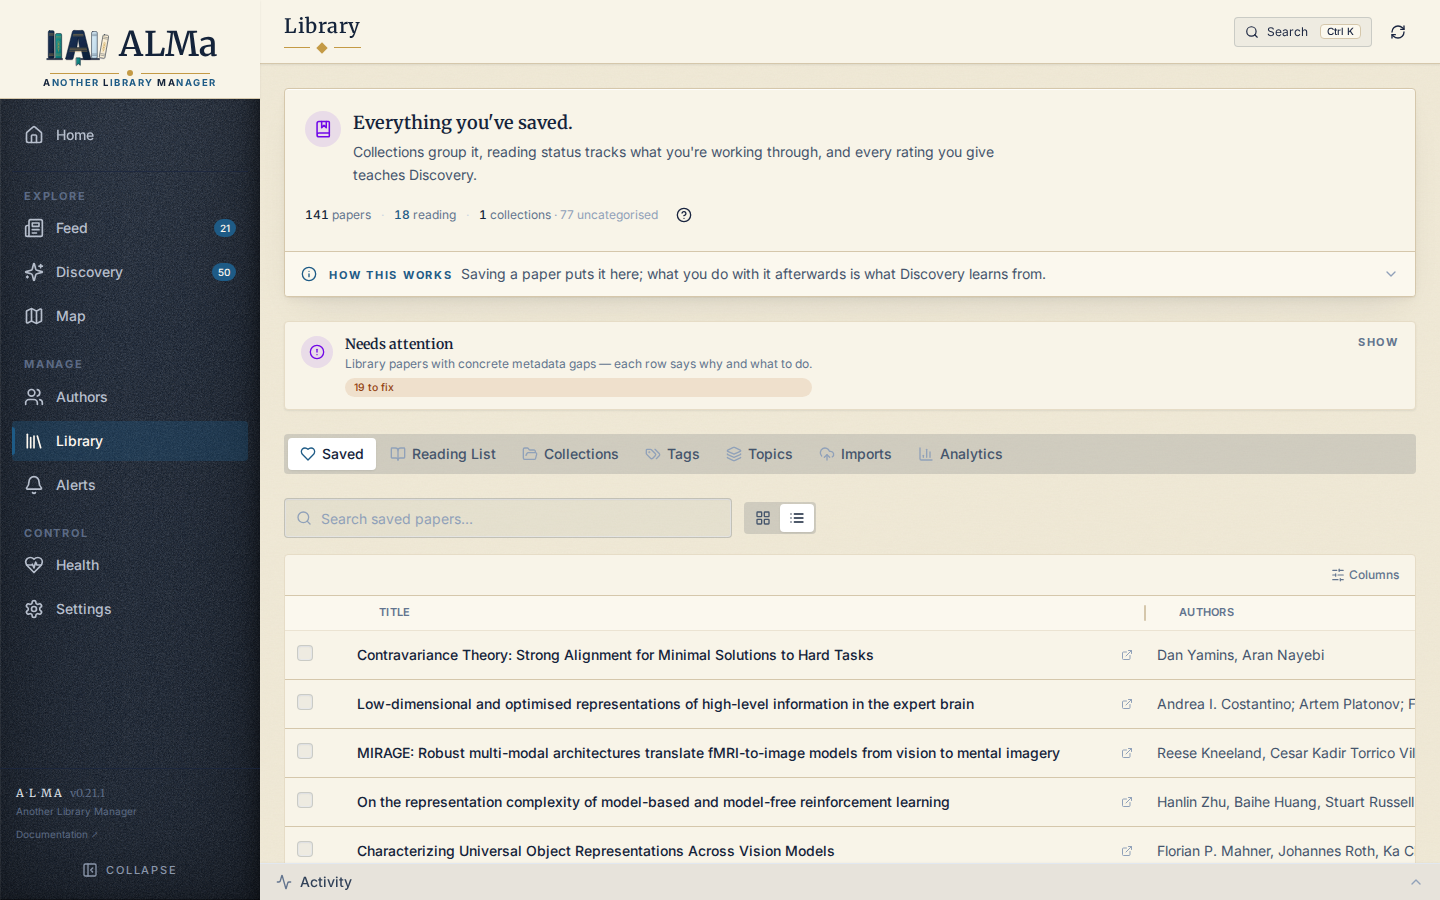
The guided onboarding flow
On a fresh install the backend reports onboarding as incomplete (the
gate reads onboarding.completed from the discovery_settings table),
and the frontend shows a full-screen, step-by-step welcome instead of
the normal app shell. The flow is a friendly UI over machinery ALMa
already has — follow + backfill, author suggestions, keyword monitors,
the library lens, a Discovery run, and paper triage — so finishing it
leaves you with a working personal feed without hunting for the right
buttons.
It runs in this order:
- Welcome — a short hello and what the next few minutes will do.
- What ALMa is — the one-screen vision: a private, single-user suggestion engine for academic literature.
- Your name — a first name, stored locally (
user.name) purely to make the app feel less like software. No external call. - Connect your sources — paste your OpenAlex key and a contact email (the fast lane), and optionally a Semantic Scholar key. Same keys as Settings → Connections; see step 1 of the manual reference below for why they matter.
- You're at the centre — resolve your own author identity from
an ORCID or OpenAlex ID. ALMa confirms the matched profile, then
follows you, marks you as the single owner
(
followed_authors.is_owner), schedules a historical backfill of your publications, and promotes those papers into your Library. This keeps running in the background while you continue. - Follow a few authors — suggestions drawn from your own work and the people around it. Following an author tracks them: their new papers land in your Feed and their back catalogue is pulled in to learn from.
- React to your authors' best work — the most-cited papers from the people you follow. Save the keepers and react to the rest. This applies the same rating contract as Feed/Discovery (Save / Like / Love save with progressively stronger positive signal; Dislike is a quiet "not for me"; Dismiss hides it), so it teaches the ranker right away.
- Keyword monitors — phrases ALMa should watch for in new publications; matches surface in your Feed. Editable later in Settings.
- Create your first lens — a library lens built from your whole library, the broadest view Discovery can take.
- Branches — a quick look at how that lens carves your library into clusters ("branches") that steer Discovery.
- The first Discovery run — kicks off a real Discovery pass against your lens. It runs in the background and can take a minute or two.
- Triage your first batch — react to the fresh recommendations Discovery just produced (none of them already in your library), again applying the rating contract so the next refresh leans toward what you kept.
- All set — a summary and a few signposts (Health, Map, Library → Analytics, Settings), then you land on Home, the daily brief you will open every day afterwards.
When you finish, ALMa marks onboarding.completed and the gate stops
showing on every future boot.
Page tours
The wizard is only half the guided experience. Home, Feed, Discovery, Map, Authors and Library each carry a short first-visit tour — a handful of coachmarks over the real page, spotlighting the controls that matter. It runs once per page, automatically, and the ? button in the page header replays it any time.
Re-running it later
You can replay the whole flow at any time from Settings → First-run
setup → Restart onboarding. This clears the completed flag (via
/onboarding/reset) and forgets every page tour's "seen it" flag, so both
the guided welcome and the per-page tours show again on the next load.
Nothing is deleted — your identity, follows, monitors, lens, and
saved papers are all kept; it simply lets you revisit or adjust anything
you skipped.
Doing it manually (or fine-tuning after onboarding)
The guided flow is the default first experience, but every step is just a normal ALMa action you can do (or redo) by hand. Use this as a reference if you skipped a step, restarted with an existing library, or want to add more after onboarding.
1. Set your API keys
OpenAlex requires an API key (since 2026-02-13 — keyless requests get 100 credits/day, then HTTP 409). A Semantic Scholar key is strongly recommended too — without it S2 shares the anonymous worldwide pool and 429s often, stalling Discovery.
Go to Settings → Connections → External APIs, paste your OpenAlex key into OpenAlex and (optionally) your S2 key into Semantic Scholar, then save. The connection status shows a green "OK" indicator next to OpenAlex in the same card.
If you started the container with -e OPENALEX_API_KEY=... (or
env_file:), this is already set — no UI step needed.
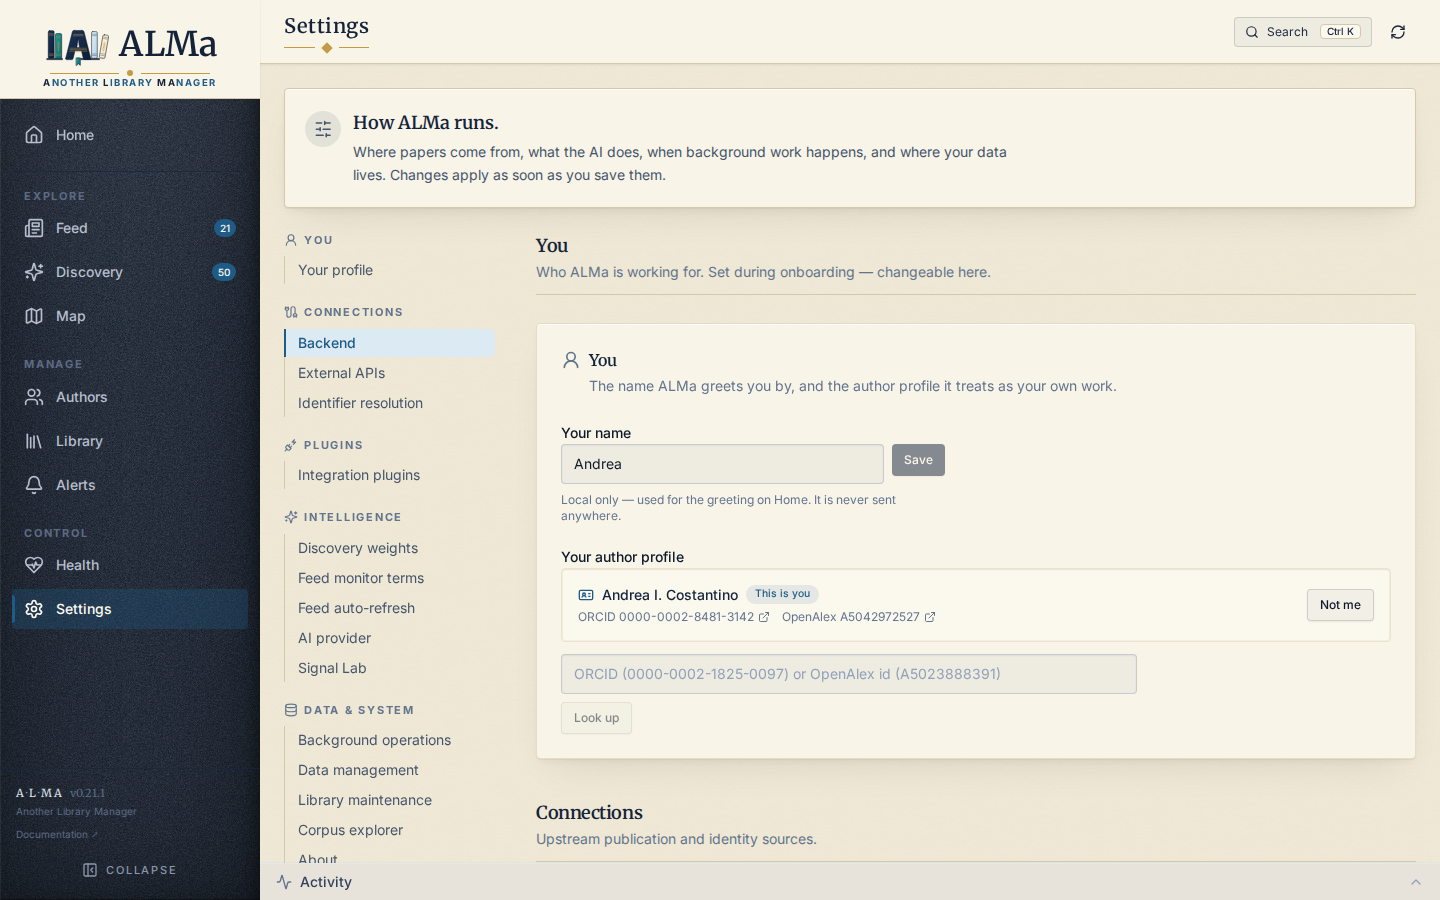
2. Follow your first author
Go to Authors → Add author. You can search by:
- Name (partial match against OpenAlex)
- OpenAlex author ID (
A1234567890) - ORCID
- (Optional, if
scholarlyis installed) Google Scholar ID
When you confirm an author, ALMa runs a backfill: their recent works
are pulled from OpenAlex, deduplicated, and inserted as tracked
papers (not yet in your Library — see Paper lifecycle).
You can watch this happen in the Activity panel at the bottom of the screen.
3. Open the Feed
Once the backfill completes (usually under a minute for a single author with a few hundred works), open Feed. You should see a chronological list of recent papers from that author. The Feed window is bounded to roughly the last 60 days by default; older papers remain queryable from Library and Discovery.
4. Save a few papers
Click Save on a few papers in the Feed. They move into your Library. Optionally, give them a rating (Like / Love) — these ratings feed into Discovery's preference model.
5. Try Discovery
Open Discovery. With even a small Library, the recommender will have something to work with. Click Refresh lens on the canonical lens to see the first batch of recommendations.
A first lens refresh against a fresh Library can take a minute or two — the recommender is doing multi-source retrieval, ranking, and caching. Subsequent refreshes are fast. The Performance page documents the expected budget.
6. (Optional) Configure an AI provider
For semantic similarity, cluster labels, and auto-tagging, configure at least one AI provider in Settings → Intelligence → AI provider:
- Semantic Scholar — no setup required; ALMa fetches pre-computed SPECTER2 vectors from S2 for any paper that has one.
- Local SPECTER2 — runs
allenai/specter2_baselocally. Good for papers S2 doesn't have. Requires the[ai]extras. - OpenAI — optional cloud embedding provider if you already use OpenAI.
The settings page surfaces what's installed and what isn't, with "Recheck" buttons that re-introspect the chosen runtime.
7. (Optional) Import an existing library
If you have a Zotero or BibTeX export, Library → Imports → Import
papers will pull it in. Imports go straight into your Library
(status='library', added_from='import') — they are treated as
explicit save intents, not staged candidates.
See Importing from Zotero / BibTeX for the full flow.
You're done
Whether you finished the guided flow or set things up by hand, you now have:
- Authors generating Feed items
- Saved papers building your preference model
- Discovery recommendations refreshing on demand
The next thing worth reading is Vision & philosophy — it explains the membership × reading lifecycle that everything in the UI is built around.